Toaster Oven Frozen Fruit Pie Showdown
Curious about how to bake a frozen fruit pie in a toaster oven? We were! So we tried baking up a bunch of them in our little oven. Today we’re sharing the mistakes we made and what we learned (including a quick hack for avoiding the dreaded soggy bottom crust!).
A reader recently left a comment on our toaster oven pot pie post asking for tips on cooking larger frozen pies.
We’d had some success with baking mini hand pies but not much experience cooking full-sized pies in a toaster oven. So last week when our grocery store had Marie Callendar’s frozen fruit pies on special we grabbed a couple.
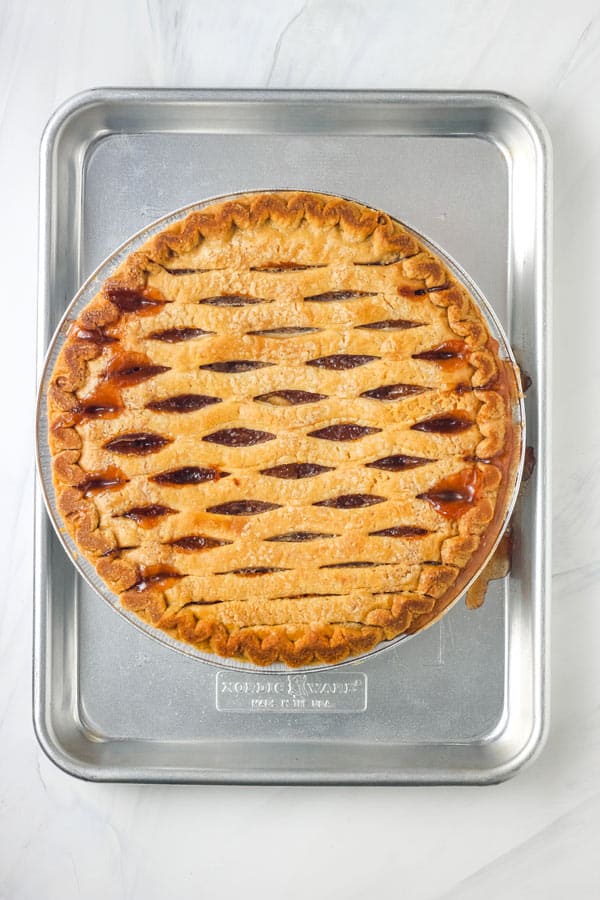
Similar to our big fat muffin experiment and this frozen pizza article we figured we’d try baking them up in our countertop oven to see what we could learn. As you can see from the photo below it was a very educational experience!
Toaster Oven Frozen Pie Experiment
We were able to get our hands on two cherry pies and one apple pie. The baking directions for both varieties were very similar:
- Preheat oven to 425°F.
- Bake the pie on a baking sheet in the center of the oven until the top crust is golden brown.
- The baking times listed were 60 minutes for the cherry pie and 60 to 70 minutes for the apple pie.
- Make sure the pie has an internal temperature of at least 165°F.
- Cool for at least 2 hours before slicing.
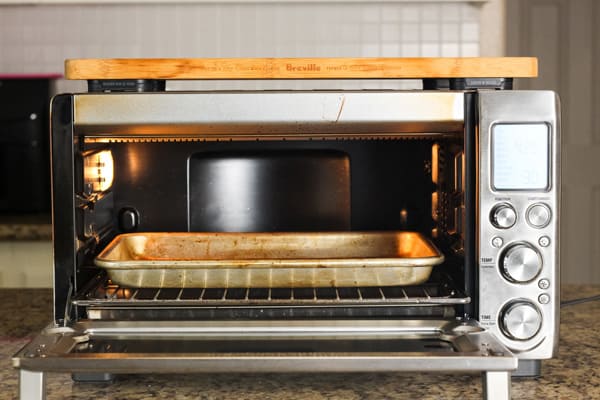
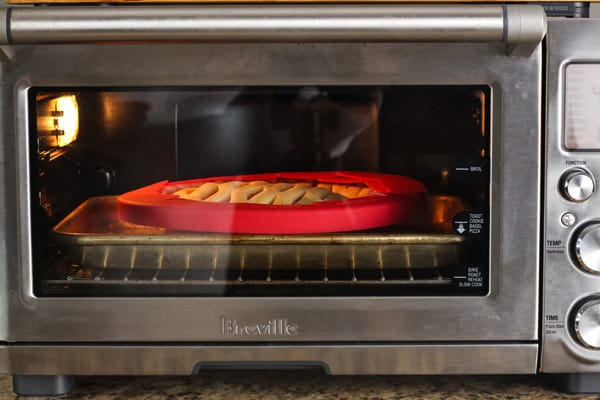
For this tasty experiment, we used our Breville Smart Oven Pro (BOV845BSS). To start, we moved the rack to the lower placement, set it to 425°F, and selected the BAKE function with the convection fan turned off.
Preheating Tips
Most toaster ovens signal they are preheated once the oven has reached 65% to 75% of the display temperature. This isn’t a problem when cooking baked potatoes or reheating leftovers but it can make your pie less than awesome.
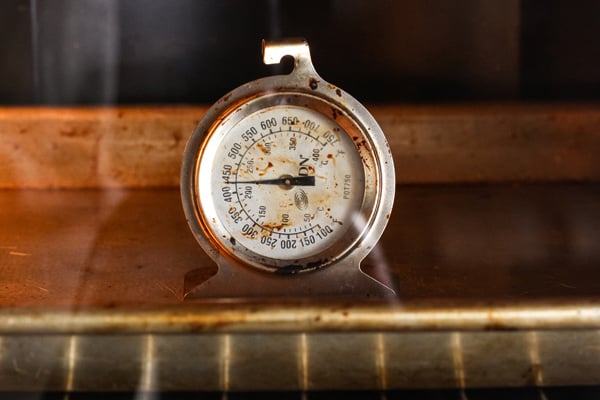
That initial blast of high heat gets the baking going and helps the pie crust turn out flaky and light. So we ignored the beep and waited for our oven thermometer to reach 425°F (it took about 9 minutes).
Also, before heating the toaster oven we added an empty quarter sheet pan to it.
You always want to have a sheet pan under a fruit pie while it bakes to catch any drips. But according to Boston Girl Bakes, preheating the pan first helps to brown the crust and avoid ending up with a soggy bottom.
Okay, now that we’ve got our oven (and sheet pan) nice and hot. Let’s do this!
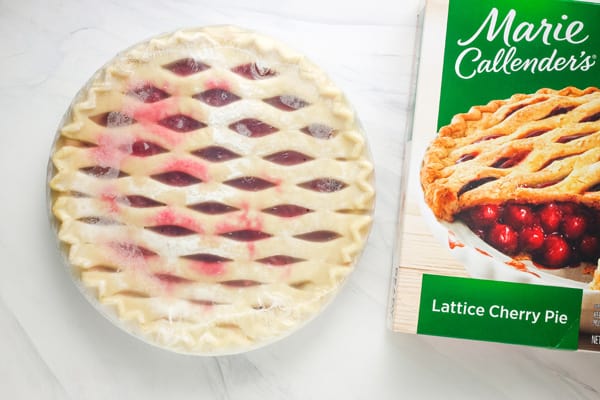
Frozen Pie #1: Cherry
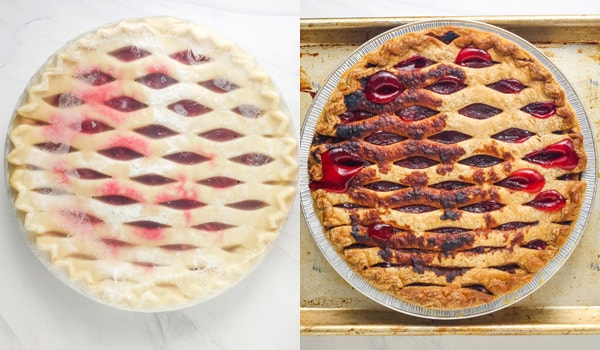
We started by removing the plastic around the frozen pie and baking it on the heated pan at 425°F.
After 20 minutes the filling had an internal temperature of only 95°F but the crust was already getting a lot of browning on the edges.
We were worried it would brown too much before the filling was heated all the way through so we reduced the temperature to 400°F.
After baking for another 20 minutes, the areas where the sugary pie filling had spilled on the crust were starting to brown deeply. The rest of the crust looked great but the internal temperature was only 117°F.
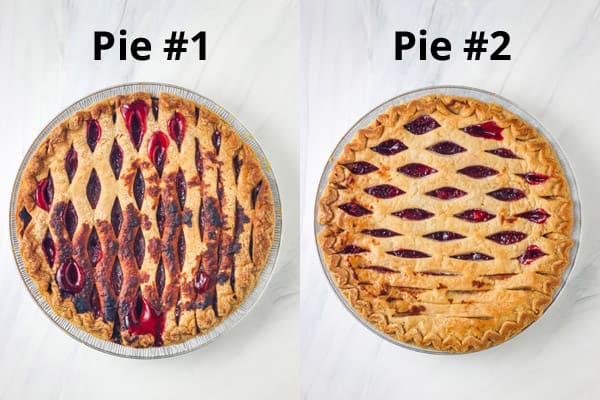
After another 20 minutes, the internal temperature was finally over 165°F and the filling was bubbling. Unfortunately, the pie crust looked pretty awful with super dark edges and burnt spots.
We let the pie cool for 2 hours before slicing it. It was still pretty warm and could probably have used another hour of cooling. But there was no way Tim was going to wait any longer.
Results: The edges were overcooked, burnt, and tasted bitter. Anywhere that filling had spilled onto the top crust was burnt.
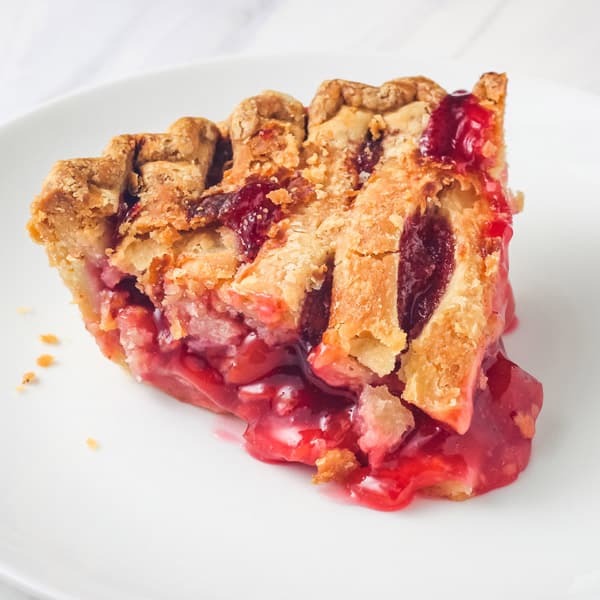
Fortunately, after removing most of the burnt areas using a paring knife, we discovered there was plenty of flaky and delicious not-burnt crust underneath.
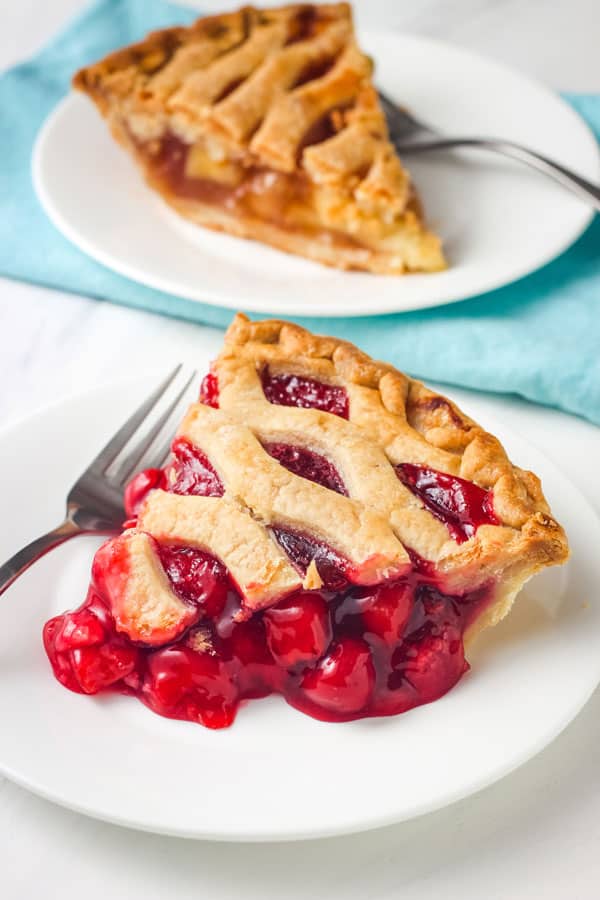
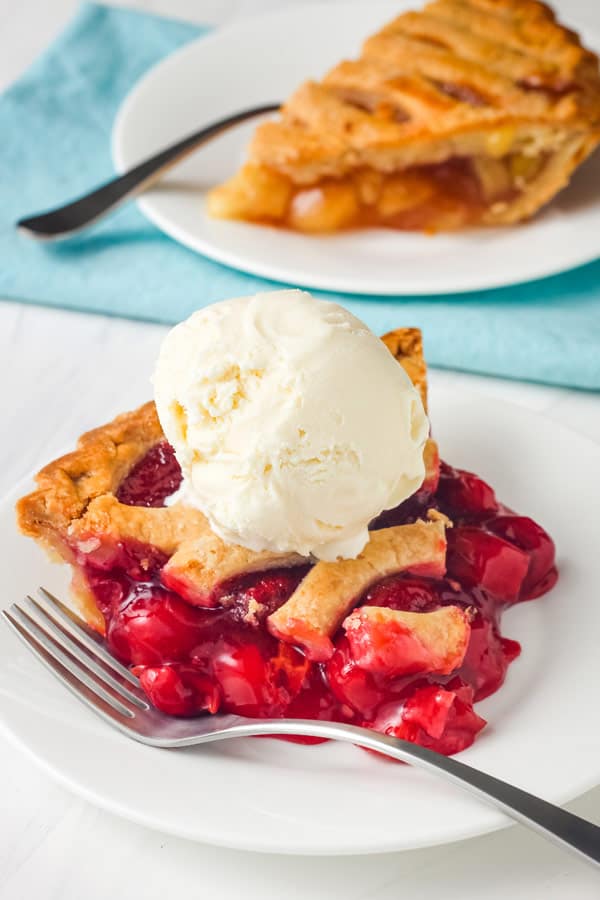
The two bright spots of this pie were the filling which had lots of yummy tart cherries and the bottom crust which was beautifully browned and crisp.
4 Things We Learned From This Pie
- Scrape any filling off of the raw crust before baking.
- Preheating the sheet pan helps the bottom crust brown.
- The pie edges need to be protected/covered for at least some of the baking time.
- If the pie is still warm when sliced the filling will ooze out everywhere.
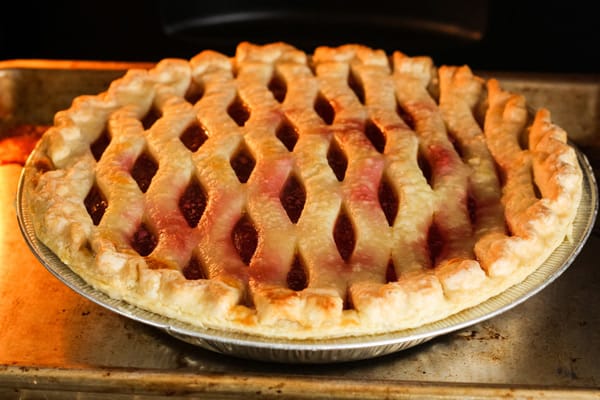
Frozen Pie #2: Cherry
Using what we learned from our mistakes with the first pie, we did some extra prep with this one.
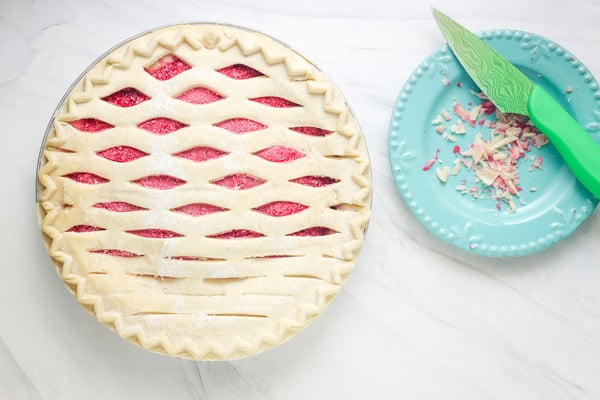
First, we grabbed a pairing knife and scraped off any pie filling that was on the lattice crust.
Then we explored ideas for covering the pie crust to keep it from browning too much and saw that a lot of people use foil strips.
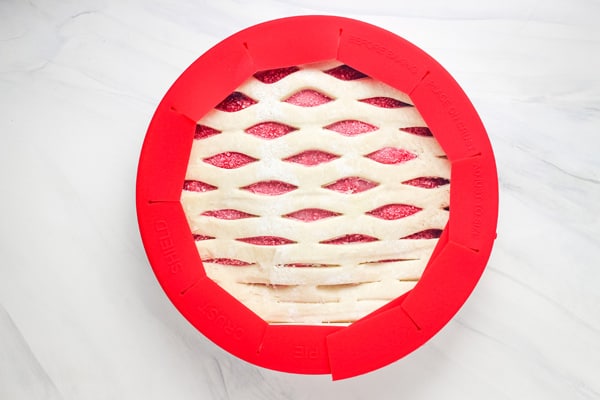
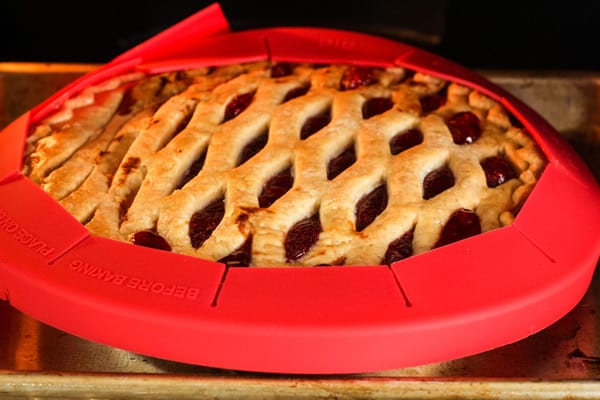
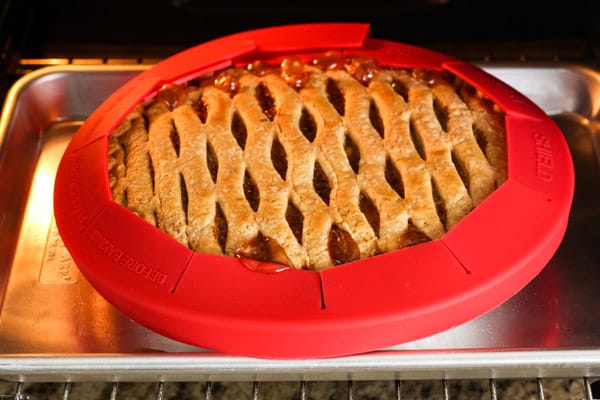
Looking for a reusable option, we found a silicone pie crust shield at Williams Sonoma for $10. It’s easy to clean and adjustable so it can be used for larger pies too.
The directions for the shield say to put it on the pie before baking and remove it near the end (when there are about 15 minutes left) to brown the edges of the pie.
So I put the shield over the frozen pie, carefully placed the pie on the preheated sheet pan, and baked it in our toaster oven at 425°F.
After 15 minutes we reduced the temperature to 400°F and continued baking the pie for another 25 minutes with the pie shield still on.
At this point, the pie had been baking for 40 minutes total. I was going to remove the pie shield but to my surprise, the edges were already nicely browned. So I put the cover back on and put the pie back in the oven.
After baking for 20 minutes more (for a total of 60 minutes of bake time) the top crust was golden, the filling was bubbling, and the pie’s internal temperature was over 165°F.
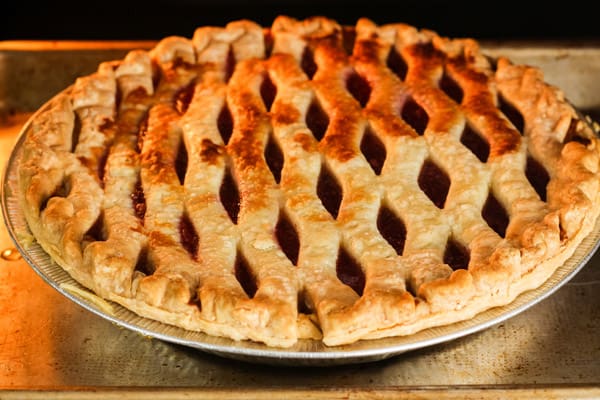
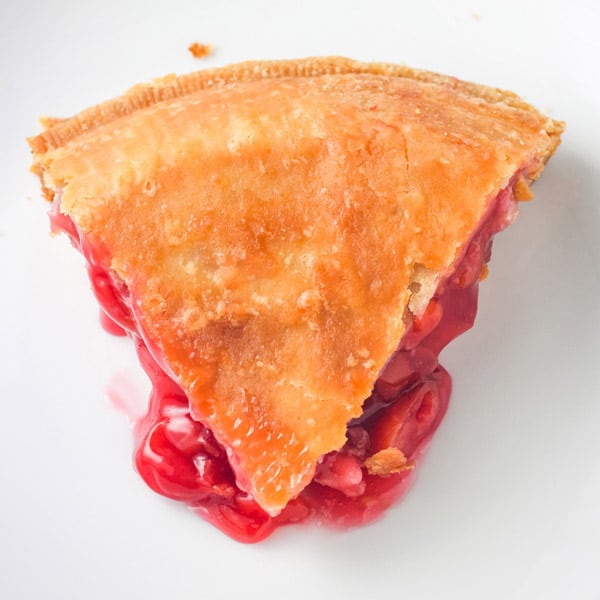
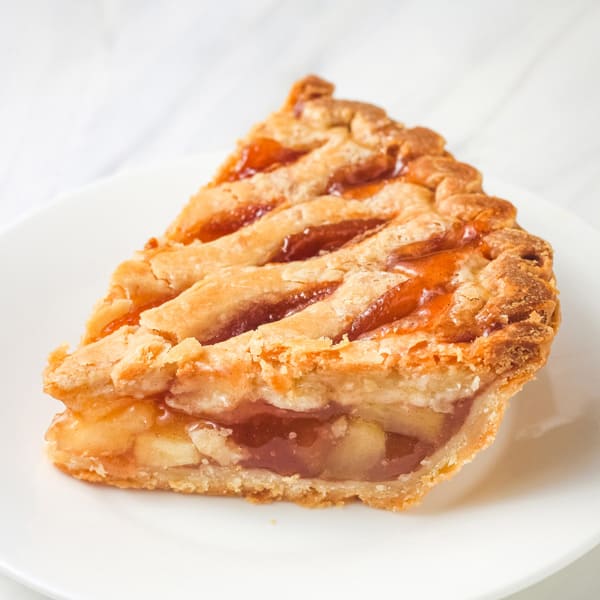
The Results: What a difference a few extra steps make, this pie was so much better than the first one.
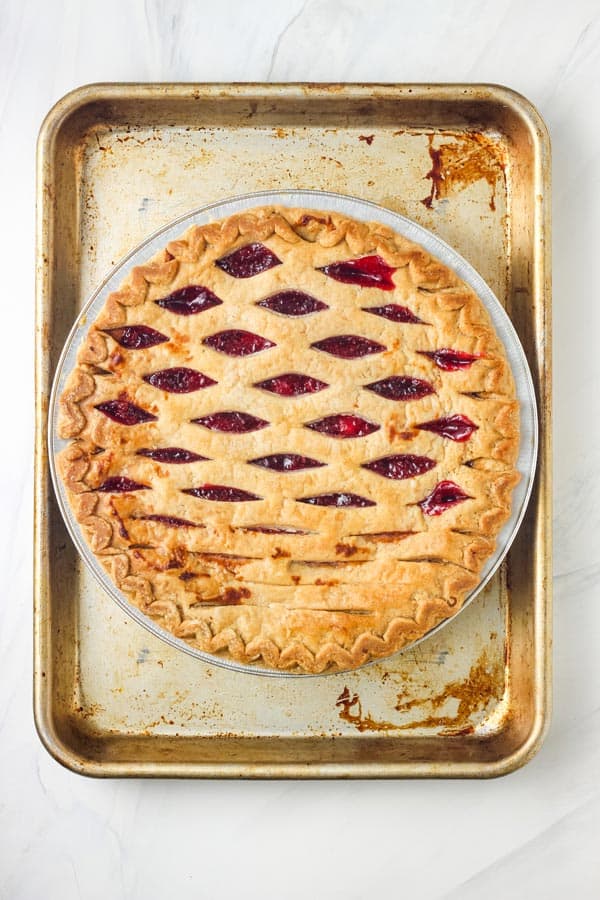
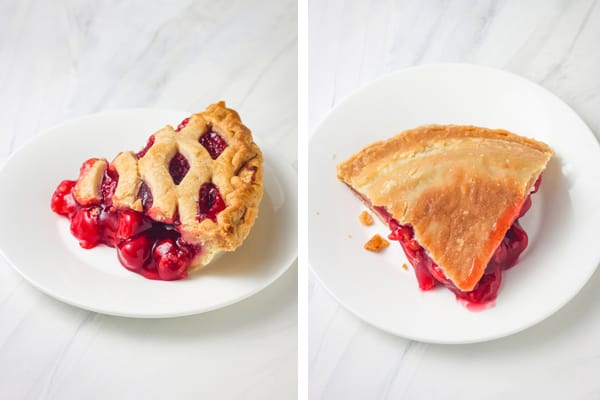
The top and bottom crusts were browned and flavorful. While the edges did get a little dark they were not bitter and tasted fine.
The filling was yummy and thicker but still a little messy even though we cooled it for 3 hours. For a frozen pie, we both thought it turned out great!
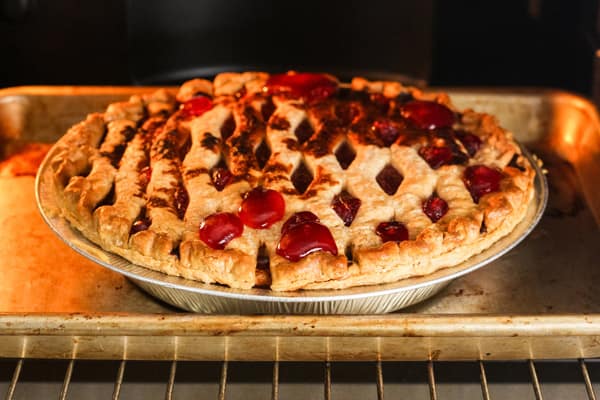
Frozen Pie #3: Apple
After all that baking, we had a reliable way to brown the bottom crust (using a preheated pan) and we knew the pie shield would keep the edges from overbrowing.

Next, we wanted to see if we could eliminate having to reduce the temperature after 15 minutes by using a lower temperature (400°F) the entire time.
The apple pie didn’t have any rogue filling on top so we just wrapped the pie shield around the outside and placed it on the preheated baking sheet in our 400°F toaster oven.
After 40 minutes of baking, I checked on the pie. While the center of the pie didn’t have much browning, the edges were a nice golden brown so I left the pie shield on.
After baking for another 25 minutes (for a total of 65 minutes) the filling was bubbling and the crust was beautifully browned.
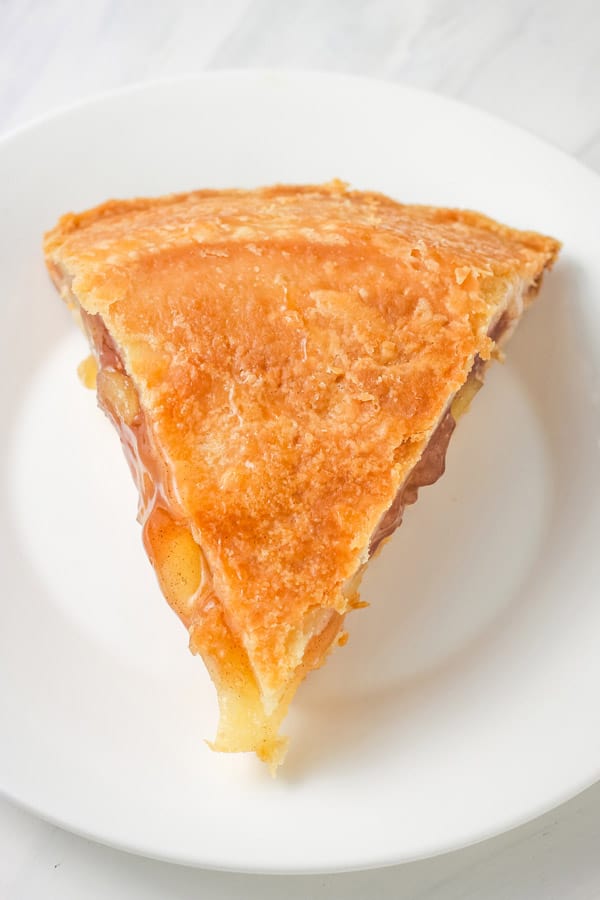
The Results: Baking the pie at 400°F the whole time worked out wonderfully. The top and bottom crusts were golden and flaky and the filling was cooked through.
Similar to Pie #2, leaving the pie shield on the entire time resulted in edges that were browned but not burnt. This method was the best of both worlds – simple and tasty!
What About Baking Frozen Pies With Convection?
We had planned to bake one last pie with the convection fan on but then an unexpected thing happened. The convection fan on our 5-year-old toaster oven bit the dust and died. So it’s on the back burner for now but still on the to-do list for later.
Preparing for the convection bake I did consult The Convection Oven Cookbook by Beatrice Ojakangas. It has a frozen foods chart that recommends baking frozen fruit pies at 375°F with convection.
We were planning to keep everything the same as Pie #3 (preheated pan, covered edges, bottom rack placement, BAKE setting) and reduced the temperature to 375°F with the convection fan turned on.
My guess was that it would take about the same amount of time to bake as the other pies (about 55 to 65 minutes). Though I was planning to check on it after 45 minutes and then add more time as needed.
Frozen Pie Takeaways
Here’s what we’ve learned about baking frozen fruit pies in our toaster oven.
1. Sticky filling on top of the pie crust will burn. Use a paring knife to scrape any filling off the crust before baking.
2. Consider using a lower temperature than the one on the box. We’ll probably reduce most temps by 25 degrees and bake the pie longer if necessary.
3. Use the lower rack placement so the bottom of the pie is closer to the heat.
4. Bake the pie on a preheated sheet pan to help brown the crust and catch any drips.
5. Use an oven thermometer (or preheat longer) to ensure the oven has actually reached the desired temperature before adding the pie.
6. Cover the pie crust edges. I think we’ll stick with covering the edges before baking and then check on the pie ⅔ of the way through the baking time. If the edges are already browning we’ll leave the cover on, if they’re not golden we’ll remove the cover and keep baking.
7. Use an instant-read thermometer (one of our favorite toaster oven accessories) to check that the baked pie’s internal temperature is over 165°F and cooked all the way through.
8. Let the pie cool completely. We found that 3 to 4 hours of cooling time is best to let the filling thicken. Though it is very hard to wait that long when your kitchen smells like freshly baked pie!
This is so interesting! We were thinking about using our Breville to cook a frozen pie over the Holiday, but we weren’t sure if we could use the foil-looking pie plate it came in. Does the baking sheet underneath make the pie plate toaster over friendly?
Hi Jenn,
Putting the sheet pan underneath is actually something from the baking directions on the box.
Once the pie is cooked and hot, lifting the thin pie tin by the edges can cause the middle to fold and collapse in on itself. The sheet pan provides a flat stable surface that makes moving the pie in and out of the oven easier and safer.
I can’t advise on the toaster oven friendliness of the pan that’s provided (since I’m not a manufacturer of ovens or pies), but those specific frozen pies that we made did not have any warnings against baking them in a toaster oven and we personally didn’t have any issues using the pans that were provided.
If there had been a warning I would have tried transferring the frozen pie to a metal pie plate that we own and given it a go 🙂
Hope that helps and Happy Baking!
~ Brie