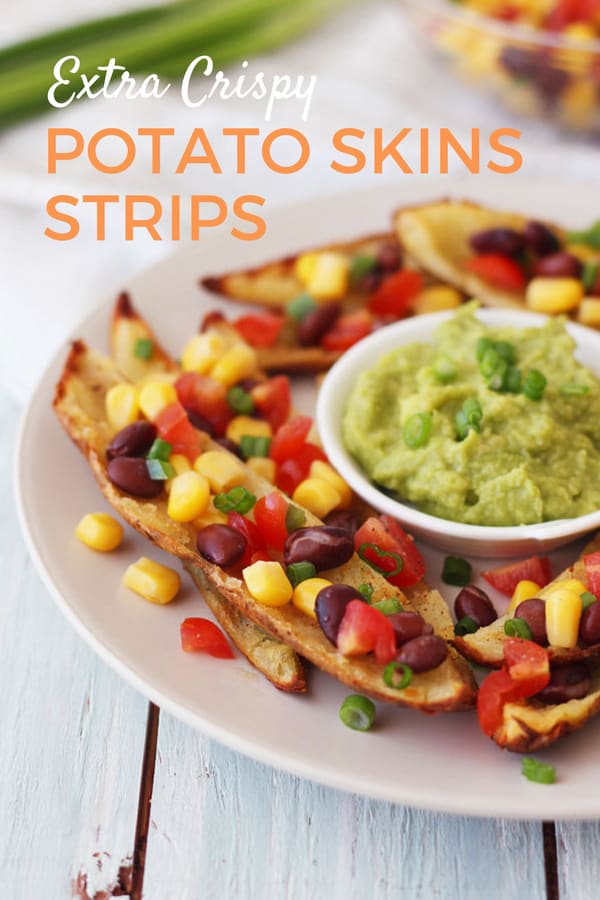
Potato Skins Strips
Crispy potato skins strips are part baked potato, part crispy fry, and 100% deliciously addictive. They’re easy to throw together and a great alternative to nachos, even without the cheese!
Did you know there’s more than one way to make potato skins?
Until last year, I had no idea.
Then I came across an article in Food Network Magazine full of potato skins. But instead of little 1980’s style potato boats, every recipe featured thin crispy STRIPS of potato skins piled high with toppings.
It looked like snack food heaven and I sooo wanted to go there.
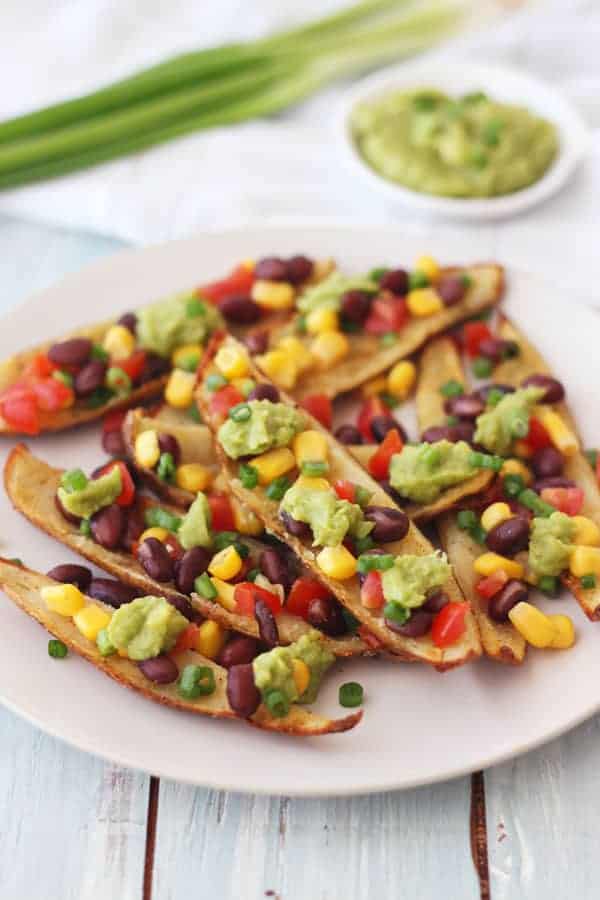
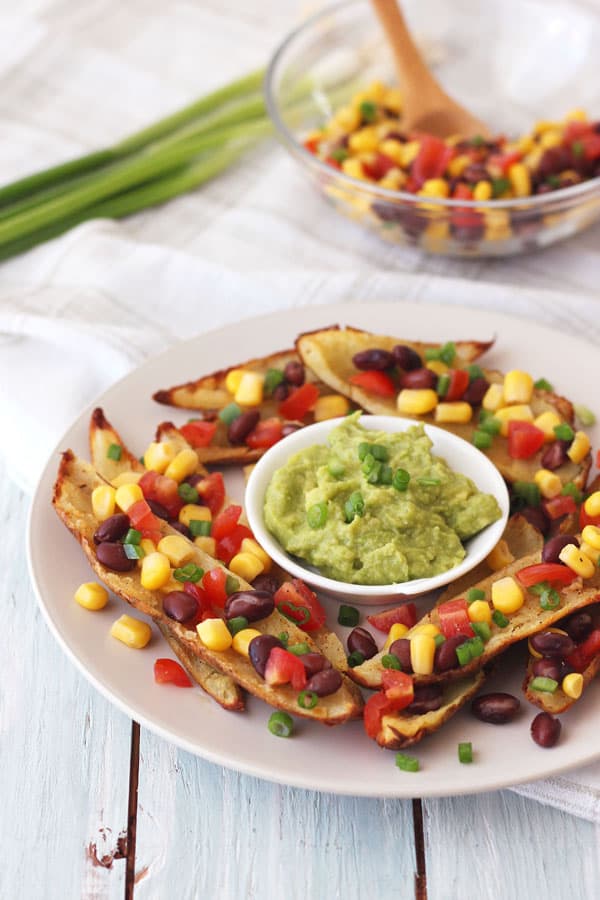
That night, I grabbed 2 leftover toaster oven baked potatoes and made a small batch for Tim and me. We were out of cheese so I topped them with black beans, corn, chopped tomatoes, sliced green onions, and creamy guacamole.
They were so good we didn’t even miss the cheese!
The flavor of these crispy strips is similar to traditional potato skins. But with less “potato pulp” and skins that are insanely crispy and salty.
It is a Snack Food Heaven, and you should go there!
~ Keep scrolling there’s step by step photo directions after the recipe ~
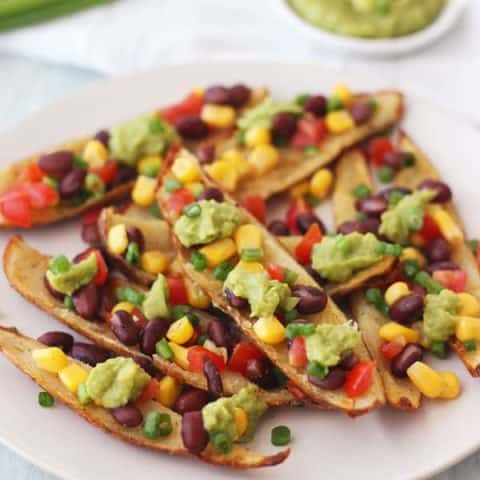
Crispy Potato Skins Strips
Crispy potato skins strips are part baked potato, part crispy fry, and 100% deliciously addictive. They’re easy to throw together with the help of your toaster oven.
Ingredients
- 2 medium Baked Russet Potatoes
- Oil or Melted Butter
- Seasoned Salt or Fine Sea Salt
- Shredded Cheese (optional)
Instructions
- Adjust your toaster oven cooking rack to the middle position and preheat to 450°F or 425°F if using a convection toaster oven. Insert a small baking rack into a rimmed toaster oven pan.
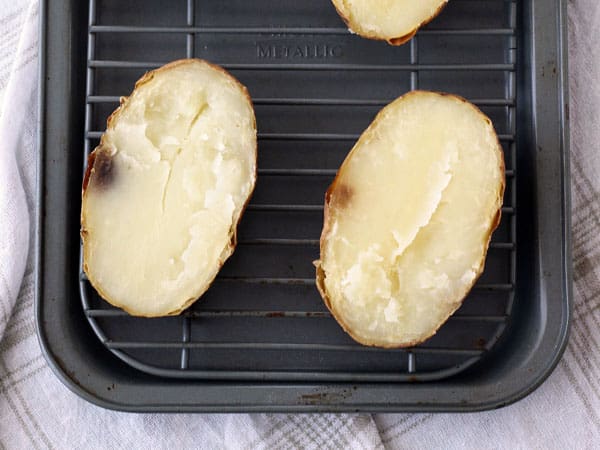
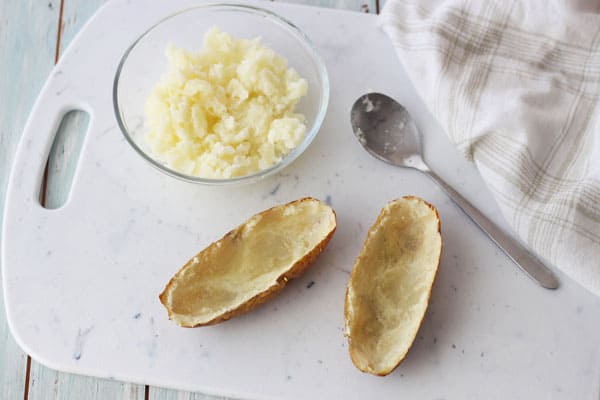
- Slice the baked potatoes in half lengthwise and scoop out most of the potato flesh leaving a thin ¼-inch layer attached to the skins.
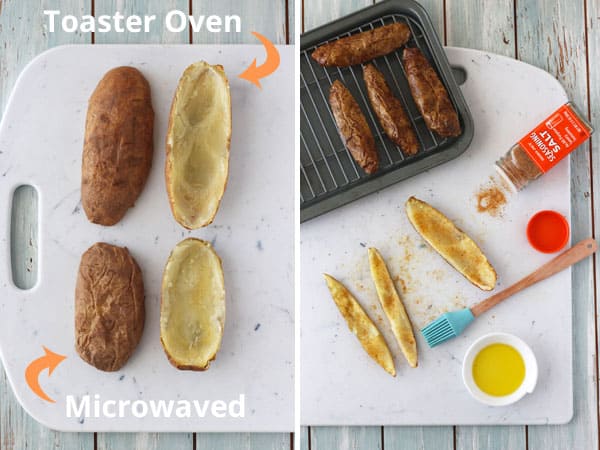
- Brush both sides of the potato shells with oil or melted butter and season well. Slice each shell in half or into quarters for thinner strips.
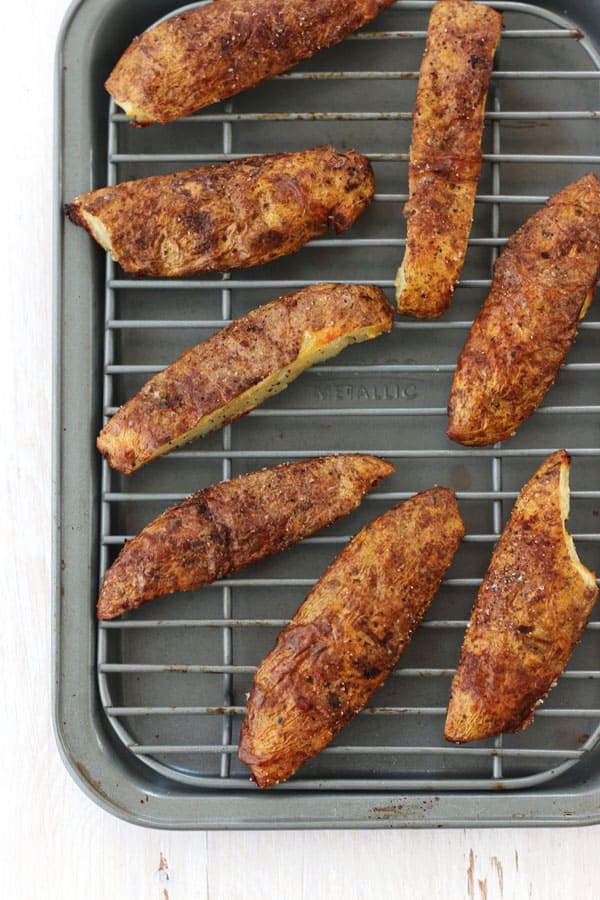
- Place the strips with their skins facing up on the rack and bake until crispy, about 10 minutes.
- Serve strips warm with your favorite toppings and dips
Notes
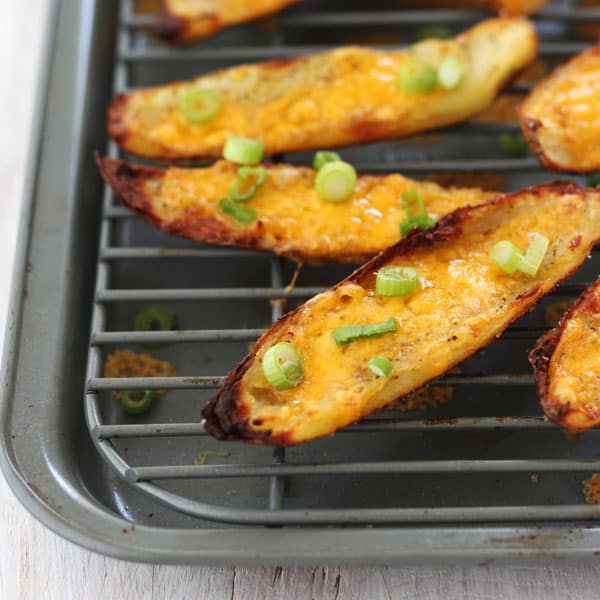
For Cheesy Strips: After cooking, carefully remove the pan and turn your toaster oven to “Broil.” Flip the skins over and top with cheese. Broil until the cheese is melted and bubbly, about 2 to 3 minutes.
The skins taste best when fresh but we’ve had success rewarming/crisping in a preheated 450°F toaster oven for 4 to 5 minutes.
Don't have leftover baked potatoes? Check out our ultimate guide to toaster oven baked potatoes or for microwave instructions see the recipe notes section on this post.
Inspired by and adapted from Food Network.
Nutrition Information:
Yield: 2 Servings Serving Size: 1 ServingAmount Per Serving: Calories: 124Total Fat: 4.8gSaturated Fat: 0.7gSodium: 12mgCarbohydrates: 16.6gFiber: 2gSugar: 0.9gProtein: 2.3g
How to Make Crispy Potato Skins Strips
Two quick things before we start:
1. If you don’t have any leftover baked potatoes and need to make some, scroll up a tiny bit. Links to our toaster oven baked potato guide and shortcut microwave instructions can be found on the recipe card above.
2. Ever had a baked potato with a few discolored spots? This strips method is my favorite way to use up blemished taters. Just slice off the offending area and proceed with the recipe.
Now that you’re ready to make the strips, adjust your toaster oven cooking rack to the middle position and preheat to 450°F or 425°F if you’re using a convection toaster oven.
Insert a small baking rack into a rimmed toaster oven pan.
I love using the pan and rack in our Chicago Metallic Toaster Oven Bakeware Set. It’s perfect for cooking a small batch of skins, baked sweet potatoes, and crispy frozen fries for one or two people.
Next scoop out most of the potato flesh. Then oil, season, and cut the potato shells into strips.
If you’re working with microwave-baked potatoes, be a little more delicate scooping them out. Their skins will be wrinkled, papery and tend to pull away from the potatoes in some areas.
You can slice the potatoes first and then scoop them out or the other way around. We prefer to scoop, oil, season, and then slice but go with the way that works best for you.
Place the prepared strips skin-side-up on the rack and add them to the heated toaster oven. It won’t take long for them to get crispy, about 10 minutes.
If you’re making cheesy skins, carefully remove the pan and turn your toaster oven to “Broil.”
Flip the skins over and sprinkle with cheese. Broil until the cheese is melted and bubbly, about 2 to 3 minutes.
Add your favorite toppings and dig in!


Mmmmmm, drool! The possibilities are endless. Thanks for the tutorial…off I go! LOVE my little oven<3…and you guys!
We <3 you too Vivian 🙂 I can't wait to hear what your garden will be turning out this spring, I imagine there will be lots of delicious veggies for sure!